At some point every website ends up needing a contact form. It sounds simple at first just a few inputs and a button but the moment you try to make it actually work you realize there is a bit more to it. Not complicated, just a few small things that need to be done right.
I remember the first time I tried to build one the form looked fine on the page but nothing happened after clicking send. No error no message nothing. That is usually where most people get stuck not on the design, but on what happens behind the scenes.
If you're still getting familiar with how things work behind the scenes, understanding the difference between frontend and backend can make this much easier.
In this tutorial I will walk through a simple way to build a contact form using HTML and PHP. Nothing overcomplicated just something that works and that you can actually use in a real project.
Key Takeaway
A contact form is not just about the inputs you see on the screen. The important part is what happens after the user clicks send and how that data is handled.
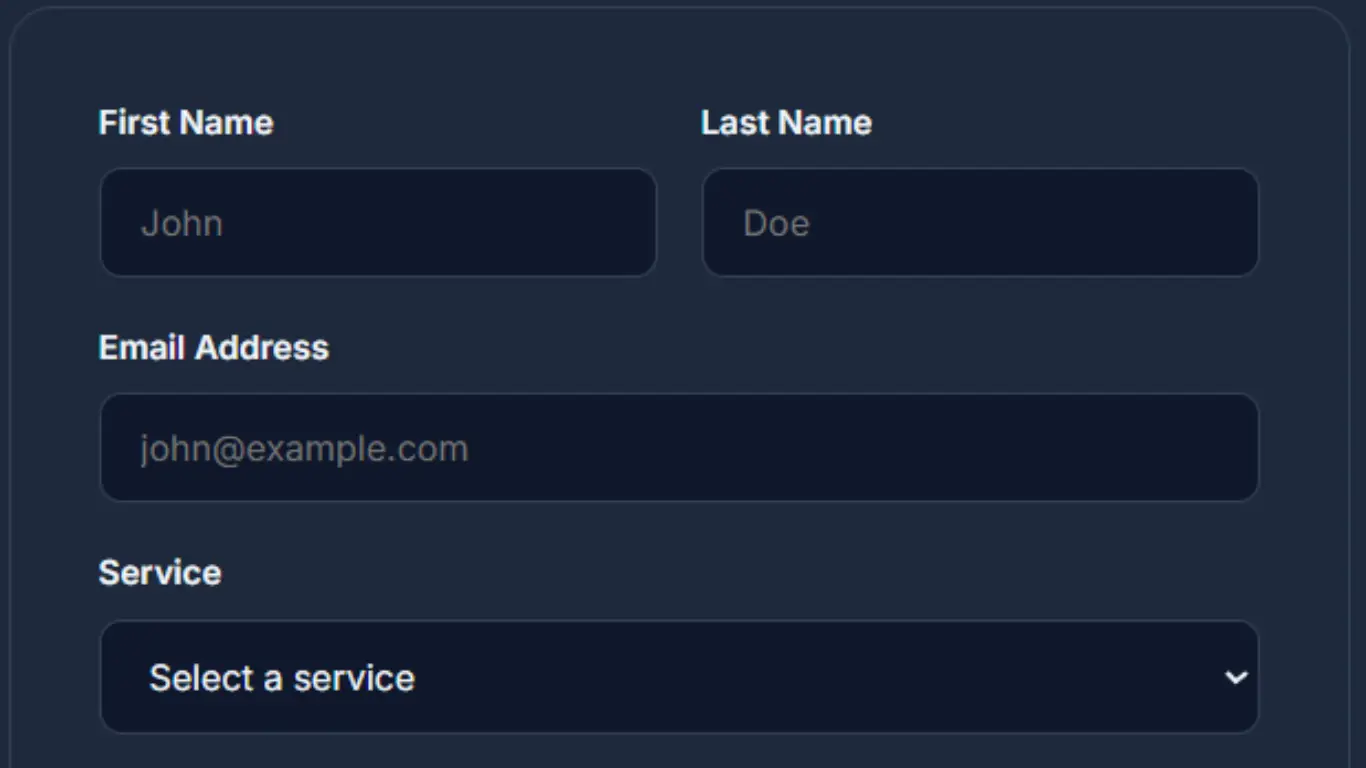
1. Creating the HTML Form
First you just need the form itself. Keep it simple there’s no need to overdo it at the start.
<form action="contact.php" method="POST">
  <input type="text" name="name" placeholder="Your Name" required>
  <input type="email" name="email" placeholder="Your Email" required>
  <textarea name="message" placeholder="Your Message" required></textarea>
  <button type="submit">Send Message</button>
</form>
This form sends the data to a file called contact.php. That is where the actual processing happens. Without that file the form does nothing it just reloads the page.
Make sure the file name matches exactly. Even something small like a typo in the file name can break everything and it can take longer than expected to notice it.
2. Handling Form Data in PHP
Now create the PHP file. This is where we receive the data from the form.
<?php
if ($_SERVER["REQUEST_METHOD"] == "POST") {
  $name = $_POST["name"];
  $email = $_POST["email"];
  $message = $_POST["message"];
}
?>
At this point you’re just grabbing the values nothing else is happening yet. If you’re not sure it’s working you can quickly echo them out and see if they show up.
Something simple like printing the name can help you confirm that the connection between the form and PHP is working.
3. Basic Validation
Before doing anything with the data always check it. Never trust input directly. Even if your form has required fields users can still send empty or invalid data.
if (empty($name) || empty($email) || empty($message)) {
  echo "All fields are required.";
  exit;
}

if (!filter_var($email, FILTER_VALIDATE_EMAIL)) {
  echo "Invalid email.";
  exit;
}
This is very basic validation but it is enough to avoid common issues. You can always improve it later if needed.
One small tip here when something does not work try submitting empty fields on purpose. It helps you see if your validation is actually running.
4. Sending the Email
Now comes the part most people are trying to get working, sending the message.
$to = "your@email.com";
$subject = "New Message";

$body = "Name: $name\n";
$body .= "Email: $email\n\n";
$body .= "Message:\n$message";

$headers = "From: $email";

if (mail($to, $subject, $body, $headers)) {
  echo "Message sent.";
} else {
  echo "Error sending message.";
}
Just make sure you replace the email with your own. Also keep in mind the mail function might not work on localhost that’s something that usually confuses people when they’re starting out.
If it does not work locally try uploading it to a live server or use a tool like Mailtrap for testing. Sometimes the issue is not your code it is just the server configuration.
5. Improving the User Experience
Right now the form works but the experience is not the best. After submitting the user just sees a plain message. It is better to redirect them to a separate page.
header("Location: thank-you.html");
exit;
This makes the whole thing feel cleaner. You can create a simple thank you page with a message and maybe a link back to the homepage.
It also prevents users from accidentally resubmitting the form if they refresh the page.
6. Common Problems
If something is not working it is usually one of a few simple things. Nothing too complicated.
- Mail is not sending because the server is not configured
- The file name in the form action does not match
- The form method is incorrect
- Inputs are empty or not being captured properly
Just take it step by step. Don’t try to fix everything at once. First check if the form is sending data then look at the PHP and after that check the email part. It’s a lot easier when you break it down like that.
Most of the time the issue is something small. A missing semicolon a wrong file name or even a space in the wrong place.
7. Basic Security
Even for a simple form you should clean the input before using it. This helps prevent basic issues.
$name = htmlspecialchars($name);
$email = htmlspecialchars($email);
$message = htmlspecialchars($message);
This is not full security but it is a good starting point. Later on you can add more protection like preventing spam or using tokens.
Another small thing you can do is limit the length of the message. This avoids someone sending extremely large input.
“Simple features like this are where you actually start understanding how the backend works.”
A Few Final Thoughts
A contact form like this is simple but it teaches a lot. You go through handling data, validating input and connecting frontend with backend.
Once you understand this you can build on top of it. You can add styling store messages in a database or switch to more advanced email services.
It also connects with how PHP is evolving in real projects, especially when it comes to handling forms and backend logic. You can take a look at what’s new in PHP 8.5 to see where things are heading.
There is no need to overcomplicate it at the beginning. Keeping things simple makes it easier to understand what is actually happening.
If you can come back to your code after a few days and still understand it that is already a good sign you are doing things right.