If you're new to Laravel, Laravel can feel a bit confusing. There are many files, folders and concepts. But once you build something simple yourself, things start to click much faster.
If you haven’t installed Laravel on your machine yet, you can follow this step by step tutorial to set up Laravel using XAMPP before continuing with this tutorial.
CRUD stands for Create Read Update Delete. These are the basic actions behind most web apps. Think of blog posts products users anything that can be added edited or removed. Once you understand this flow you can build much more complex systems later.
In this tutorial, we will build a simple posts system where you can create, view and delete data. It is not complex, but it is enough to understand how Laravel handles basic operations.
What You’ll Build
A simple posts system where you can add edit and delete records using Laravel.
1. Installing Laravel
First make sure you have Composer installed. Then open your terminal and run:
composer create-project laravel/laravel crud-app
Once it finishes go into the project folder:
cd crud-app
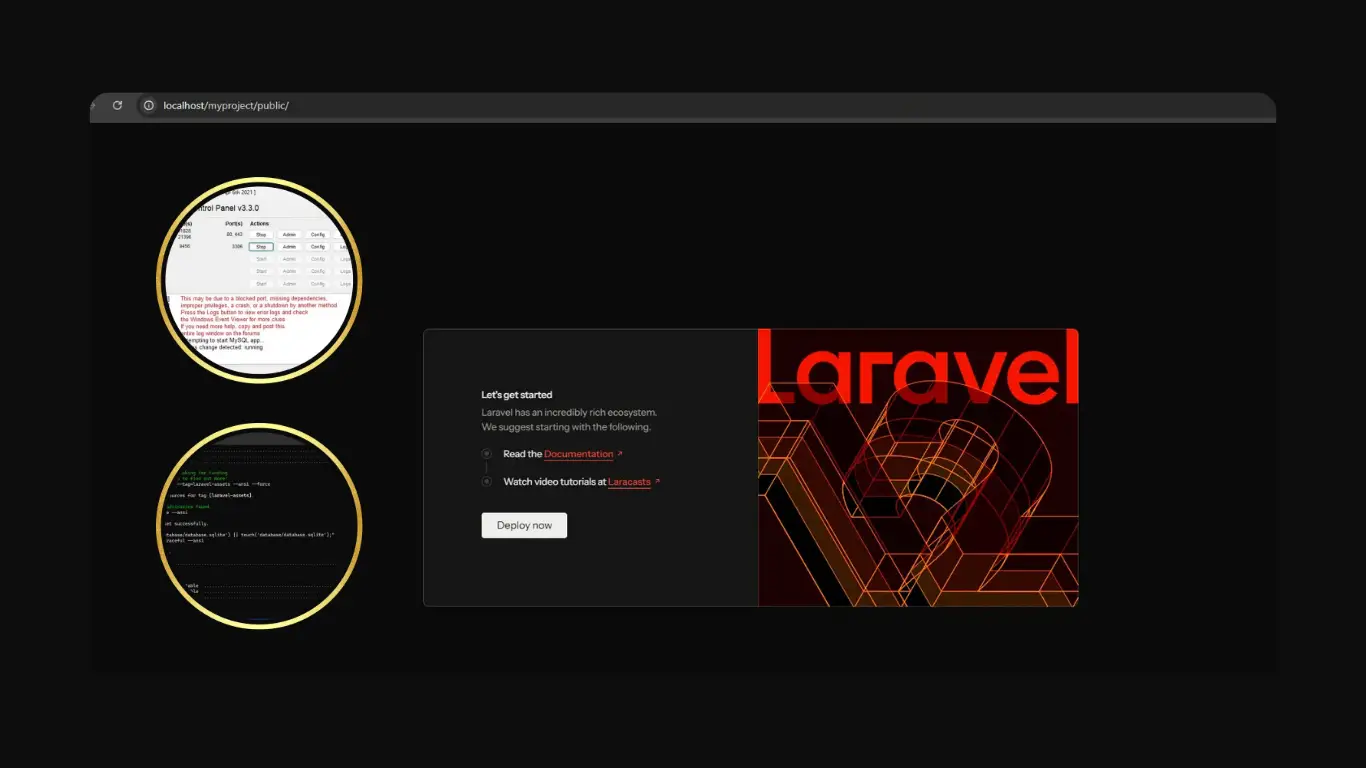
php artisan serve
Open your browser at http://127.0.0.1:8000 and you should see the Laravel welcome page.
2. Database Setup
Create a database using MySQL or any database you prefer. Then open your .env file and update this:
DB_DATABASE=crud_app
DB_USERNAME=root
DB_PASSWORD=
Make sure your database exists before continuing.
3. Migration
Now we create a table for posts.
php artisan make:migration create_posts_table
Open the migration file and update it like this:
Schema::create('posts', function (Blueprint $table) {
  $table->id();
  $table->string('title');
  $table->text('content');
  $table->timestamps();
});
Run the migration:
php artisan migrate
4. Model and Controller
Laravel makes this part very fast:
php artisan make:model Post -mcr
This creates:
- Post model
- Migration (already done)
- Resource controller
Open app/Models/Post.php and add:
protected $fillable = ['title', 'content'];
5. Routes
Open routes/web.php and add:
use App\Http\Controllers\PostController;

Route::resource('posts', PostController::class);
Laravel now automatically handles all CRUD routes.
6. Controller Logic
Open PostController and update a few methods.
public function index()
{
  $posts = Post::latest()->get();
  return view('posts.index', compact('posts'));
}

public function store(Request $request)
{
  Post::create($request->all());
  return redirect()->route('posts.index');
}

public function destroy(Post $post)
{
  $post->delete();
  return back();
}
This handles listing, creating and deleting posts in a very simple way.
In most small projects, this structure is more than enough to handle basic data operations without overcomplicating things.
7. Views
Create a folder: resources/views/posts
Now create index.blade.php:
<h2>Posts</h2>

<a href="/posts/create">Add Post</a>

@foreach($posts as $post)
  <div>
    <h3>{{ $post->title }}</h3>
    <p>{{ $post->content }}</p>

    <form method="POST" action="/posts/{{ $post->id }}">
      @csrf
      @method('DELETE')
      <button>Delete</button>
    </form>
  </div>
@endforeach
Create create.blade.php:
<form method="POST" action="/posts">
  @csrf

  <input type="text" name="title" placeholder="Title">
  <textarea name="content"></textarea>

  <button>Save</button>
</form>
8. Simple Styling
You can make it look cleaner with a bit of CSS:
body {
  font-family: Arial;
  max-width: 700px;
  margin: auto;
  padding: 20px;
}

button {
  background: #2563eb;
  color: #fff;
  border: none;
  padding: 8px 15px;
  cursor: pointer;
}
9. Live Preview Example
Here is a simple preview of how your app behaves:
Posts Demo
What You Should Try Next
Now that you have a working CRUD app you can start improving it. Add validation so users cannot submit empty forms. Add edit functionality to update posts. Maybe even add authentication so only logged in users can create content.
This is how Laravel starts to make sense. You build something small then you improve it step by step.
“From my experience, building small projects like this is what really helps you improve faster than just reading tutorials.”
If you repeat this project a couple of times you will notice how much faster everything becomes. That is when you know you are getting comfortable with Laravel.