If you’re trying to get started with Laravel locally, XAMPP is honestly one of the easiest ways to do it. It already has Apache, MySQL and PHP bundled together so you don’t have to waste time setting everything up piece by piece just to run a project.
In this tutorial I’ll show you how to install Laravel using XAMPP step by step.
Before anything, it’s worth knowing what you’re actually dealing with. Laravel is just a way to structure PHP projects so you’re not rebuilding the same stuff over and over again. XAMPP is basically what makes your computer act like a server so you can run everything locally instead of uploading it somewhere just to test it.
Most people start with this setup because it keeps things simple. You install one thing, start a couple of services and you’re good to go. No need to overthink server configs or anything like that in the beginning.
After this, we’ll just go through installing XAMPP, checking PHP, setting up Composer and creating your first Laravel project. Then you’ll run it locally and open it in the browser to see everything working.
Just go step by step and don’t stress too much about it. When things break here, it’s usually something small like a service not running, a wrong PHP version or a path issue. Nothing complicated just annoying little things.
Once it’s all set up, you basically won’t have to think about the environment again and you can just focus on building stuff.
Step 1: Download and Install XAMPP
First, download XAMPP from the official website:
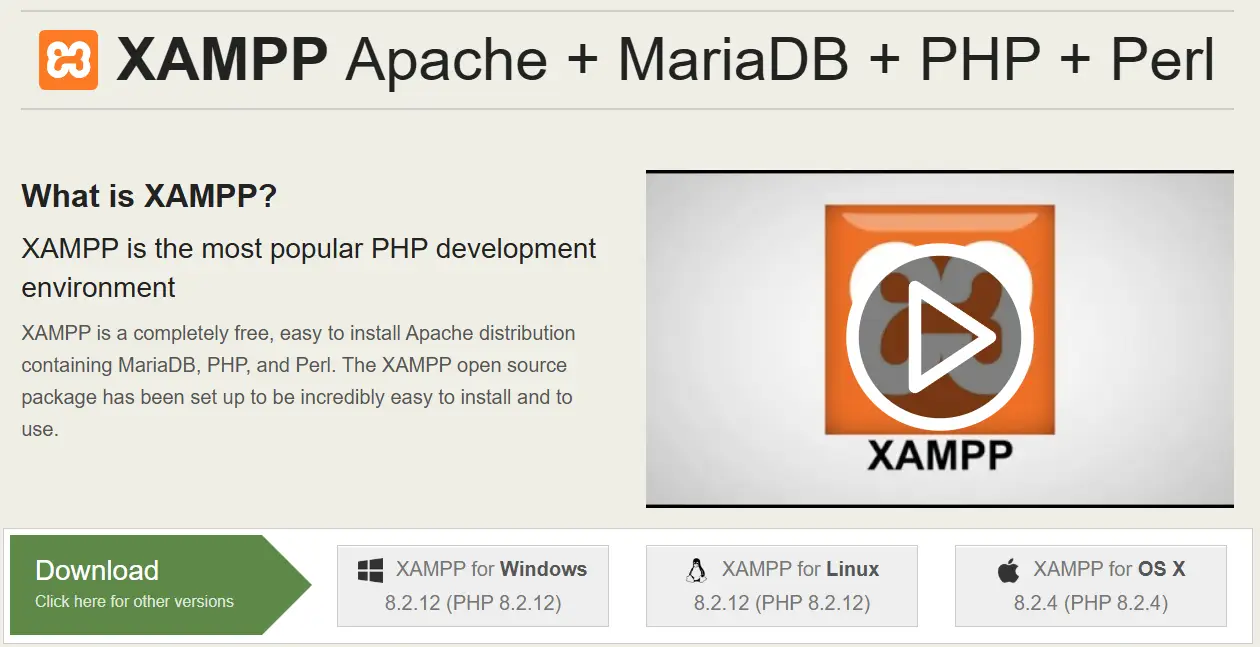
On the download page, you will see different versions available depending on your operating system.
- XAMPP for Windows
- XAMPP for Linux
- XAMPP for OS X
Make sure to download the version that matches your system. For most users, this will be the Windows version.
Once the download is complete, install it on your computer.
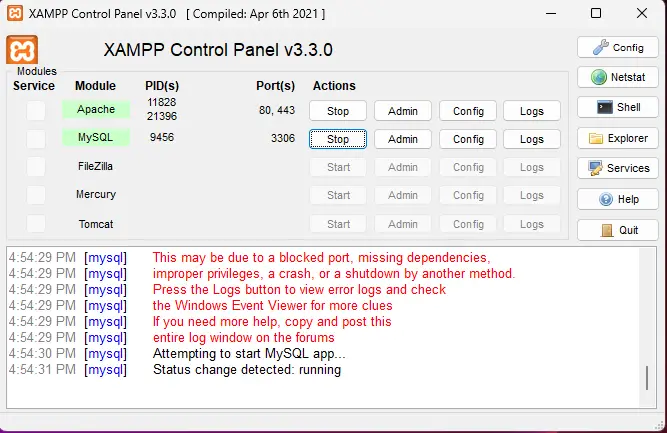
After installation, open the XAMPP Control Panel and start:
- Apache
- MySQL
Step 2: Check Your PHP Version
Laravel requires a modern PHP version, so before installing anything, check what version you’re using.
Open XAMPP and click on Shell, then run:
php -v
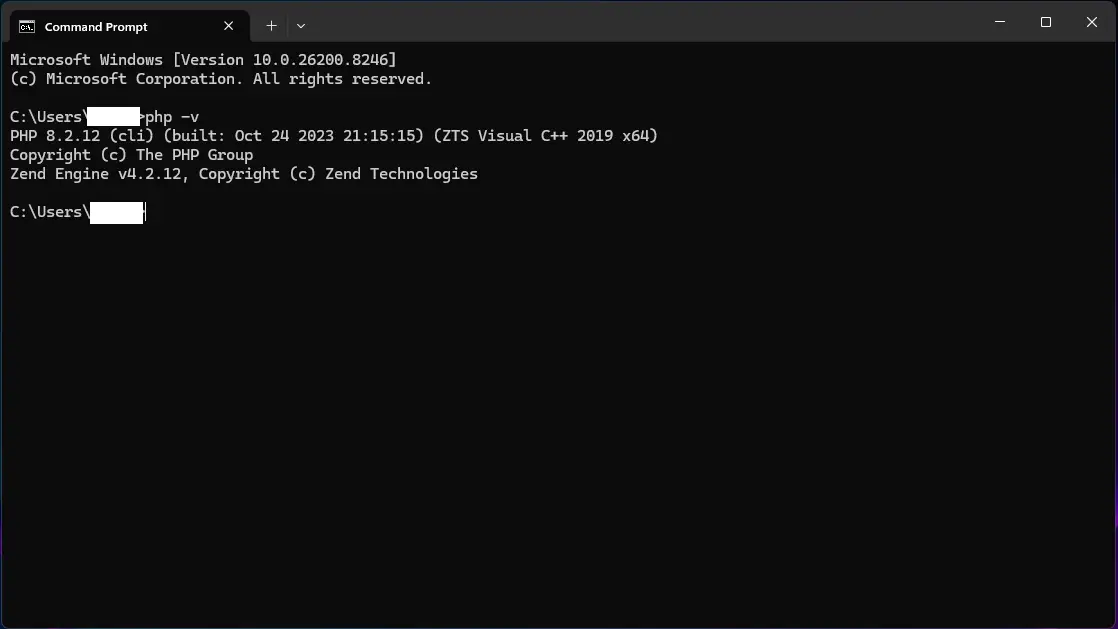
If your PHP version is too old you will need to update XAMPP before continuing.
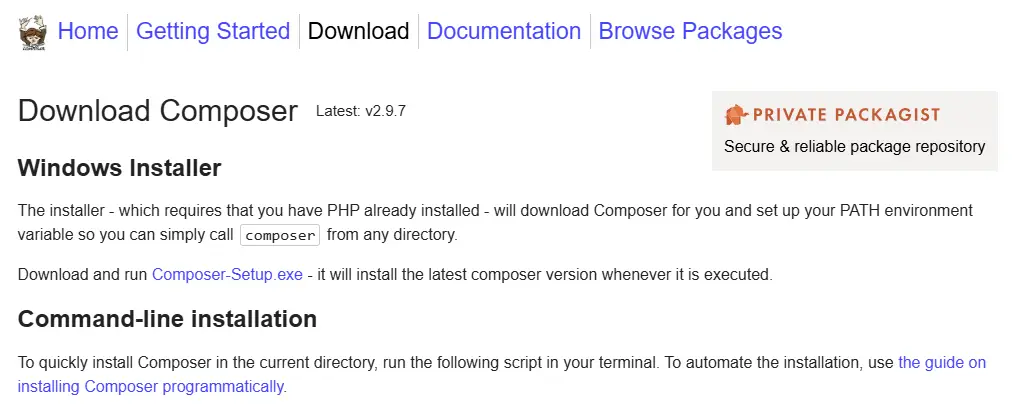
Step 3: Install Composer
First, download Composer from the official website:
After installing Composer open your terminal and verify that it works by running:
composer -V
This should display the installed Composer version.
During the installation process make sure to point Composer to your XAMPP PHP path (for example: C:\xampp\php\php.exe).
It is recommended to install Composer globally so you can use it from any directory in the terminal.
Step 4: Navigate to htdocs Folder
Now open the XAMPP Shell or Command Prompt and go to the htdocs directory:
cd C:\xampp\htdocs
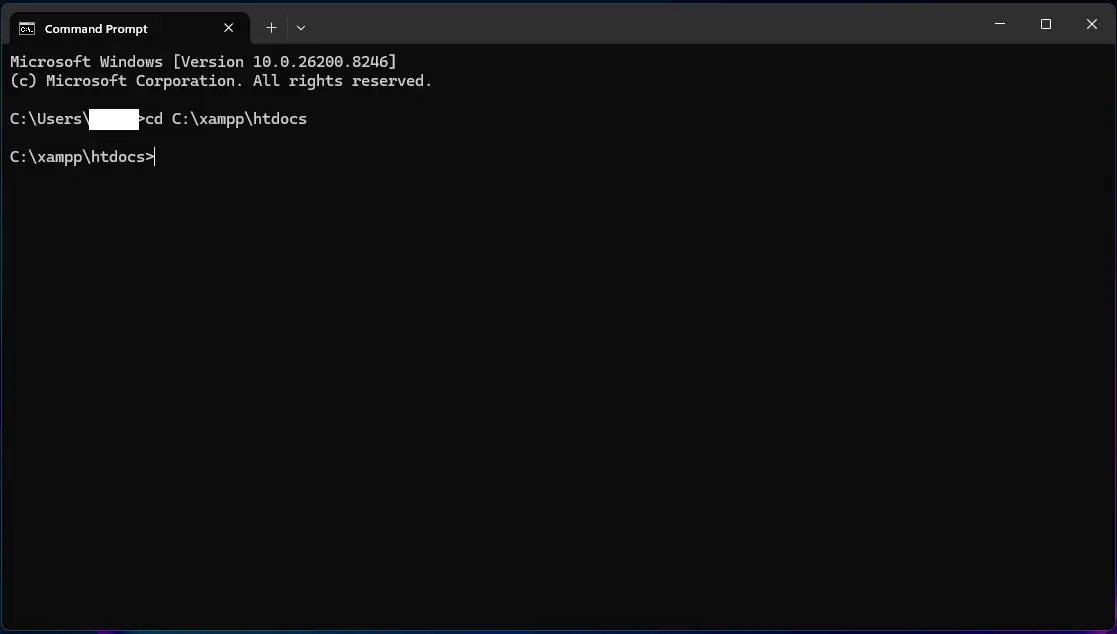
This is where your Laravel project will be created.
Step 5: Create a New Laravel Project
Run the following command:
composer create-project laravel/laravel myproject
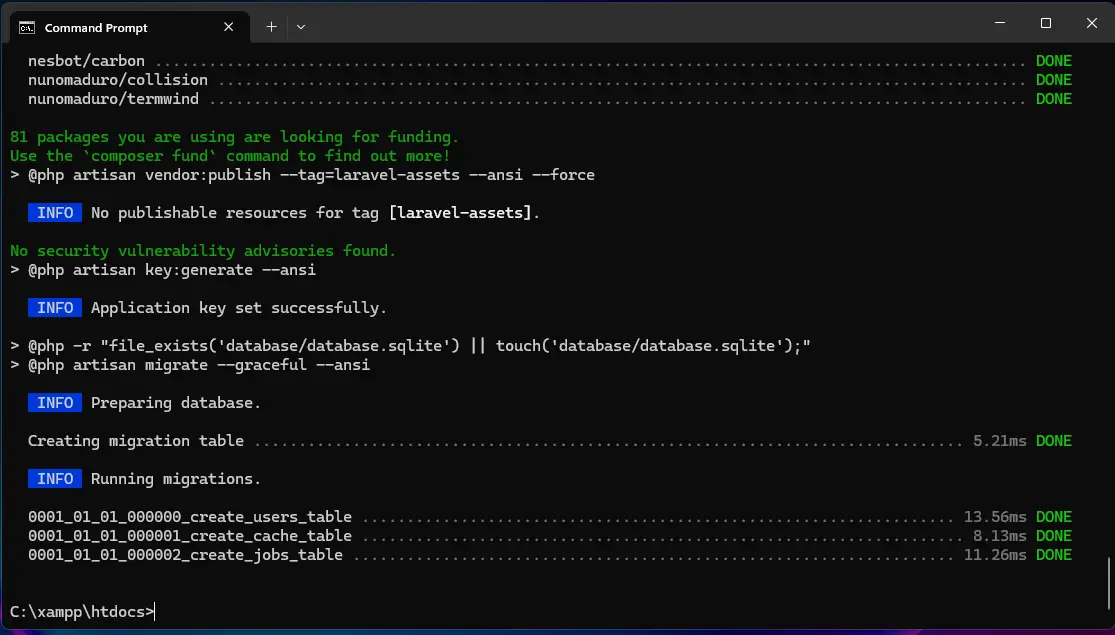
Wait until the installation finishes. This may take a few minutes.
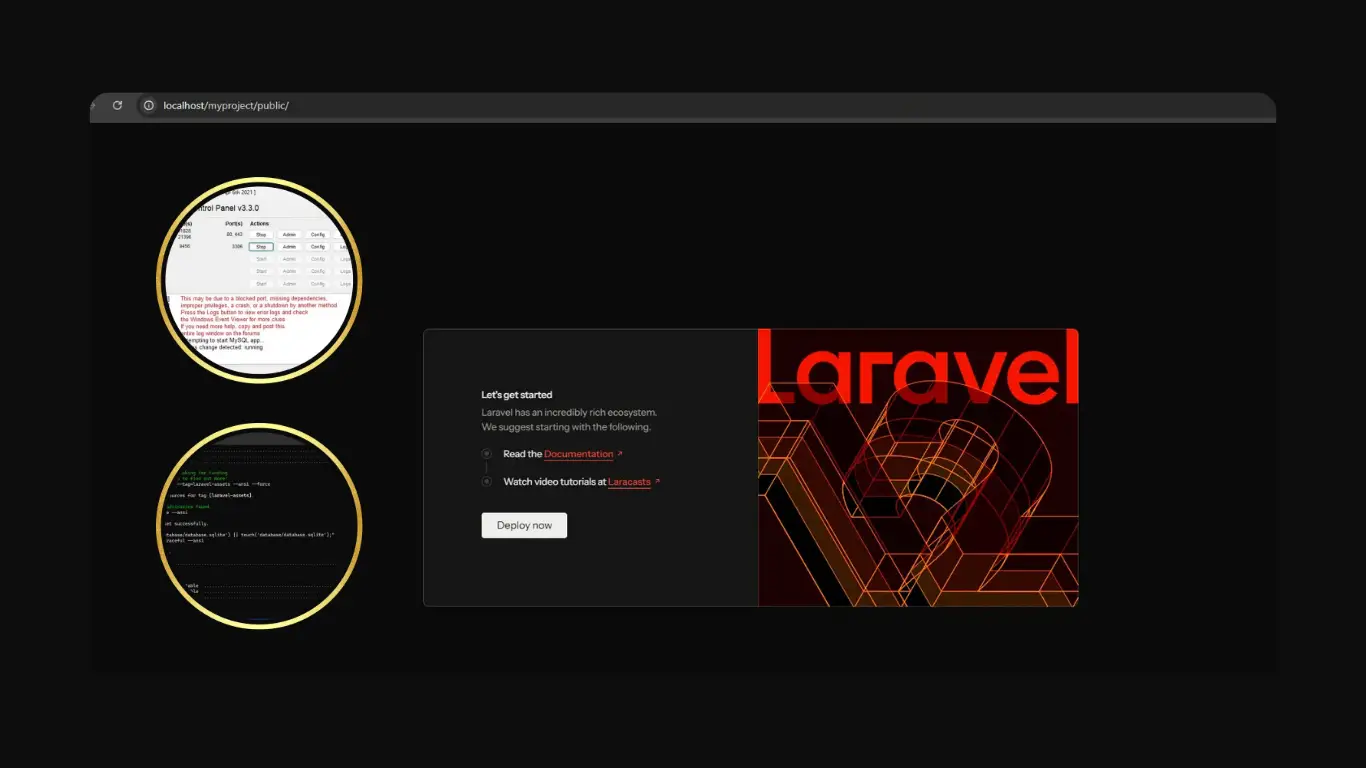
Step 6: Optional Run Laravel with XAMPP Instead of Artisan Serve
Personally, I sometimes prefer running Laravel through XAMPP instead of the built-in server.
To do that, place your project inside htdocs and access it via:
http://localhost/myproject/public
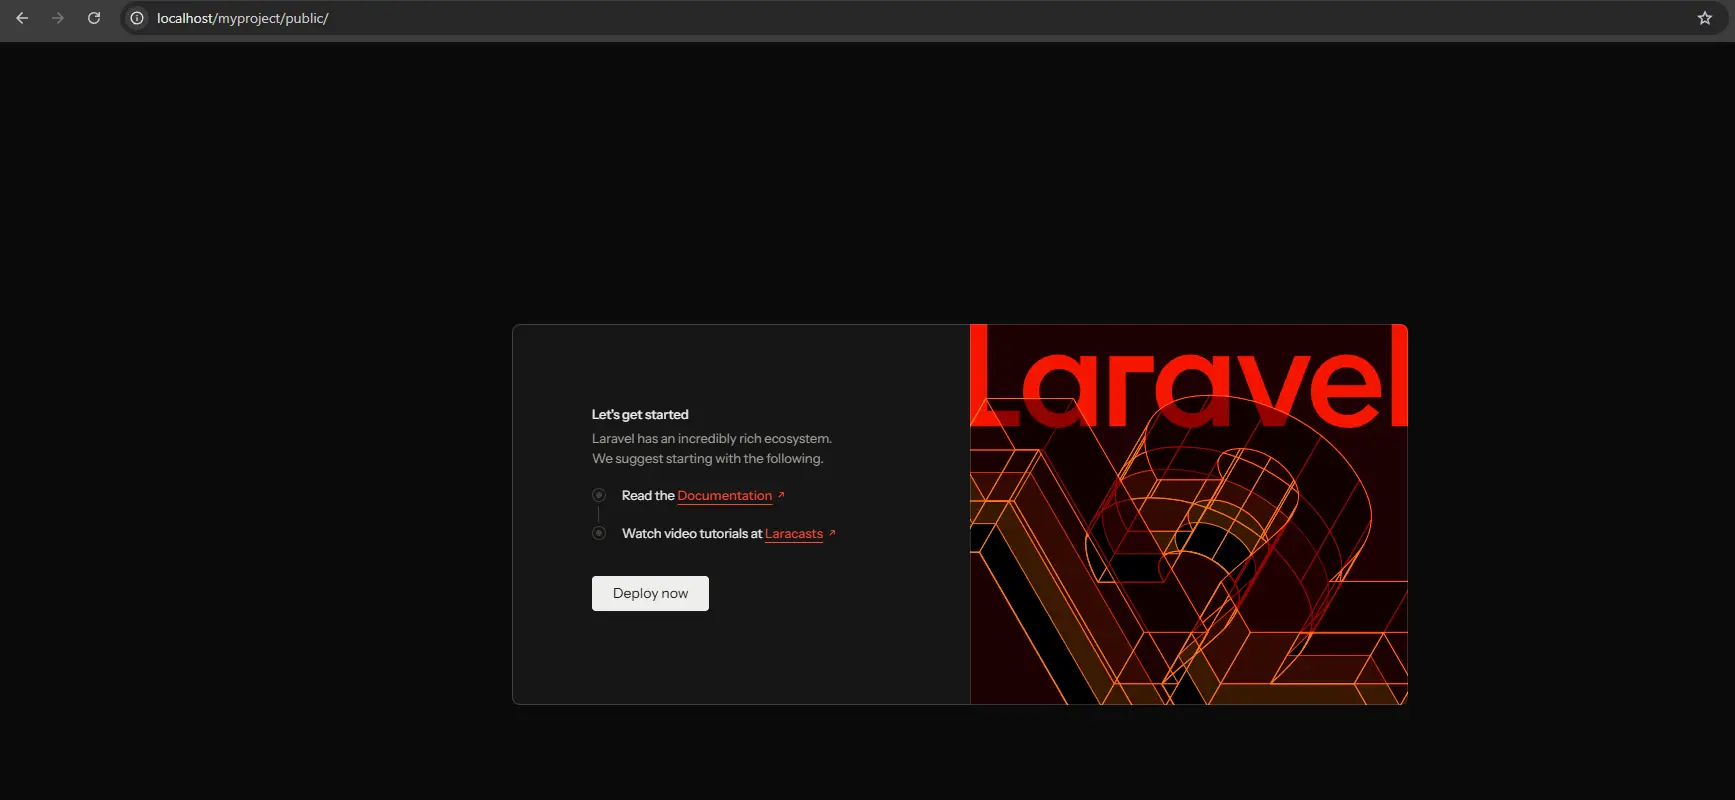
Important note: Laravel’s entry point is the public folder. If you try to open the root folder directly, it won’t work properly.
Step 7: Fix Common Issues
Here are a few problems I ran into and how I fixed them.
1. Permission errors
If you see errors related to storage or cache, run:
php artisan storage:link
2. .env file issues
Sometimes the app won’t run properly because the environment file isn’t configured.
Make sure the .env file exists and is not missing.
3. App key missing
If you get an error about the application key:
php artisan key:generate
That’s It
Setting up Laravel with XAMPP isn’t hard but it’s also not as smooth as some tutorials make it seem.
Most issues come from small things like PHP versions, Composer setup or incorrect paths.
Once everything is configured correctly, though, it becomes a solid local setup that you can reuse for future projects.
If you’re just getting started with Laravel don’t get discouraged if something doesn’t work on the first try. Almost every developer runs into these same issues at the beginning.