Turning a website into an Android app is not about rewriting everything. The goal is to reuse what already exists and package it in a way that feels natural on mobile devices.
One of the simplest ways to do this is by using WebView. It allows the app to load an existing website inside a native Android container while keeping the same backend, frontend and overall structure.
When configured properly, the experience can feel much smoother than a basic browser wrapper. Everything below covers the full setup process, including the main structure, real code examples and the issues that usually appear during testing.
Prepare your website first
Before opening Android Studio, make sure your website already works well on mobile devices. If the layout feels broken or slow in a browser, the app will feel the same way.
Open the website on your phone and test navigation, forms, buttons and loading speed. Small issues become much more noticeable inside a mobile app.
Improving responsiveness first usually saves a lot of time later in the process.
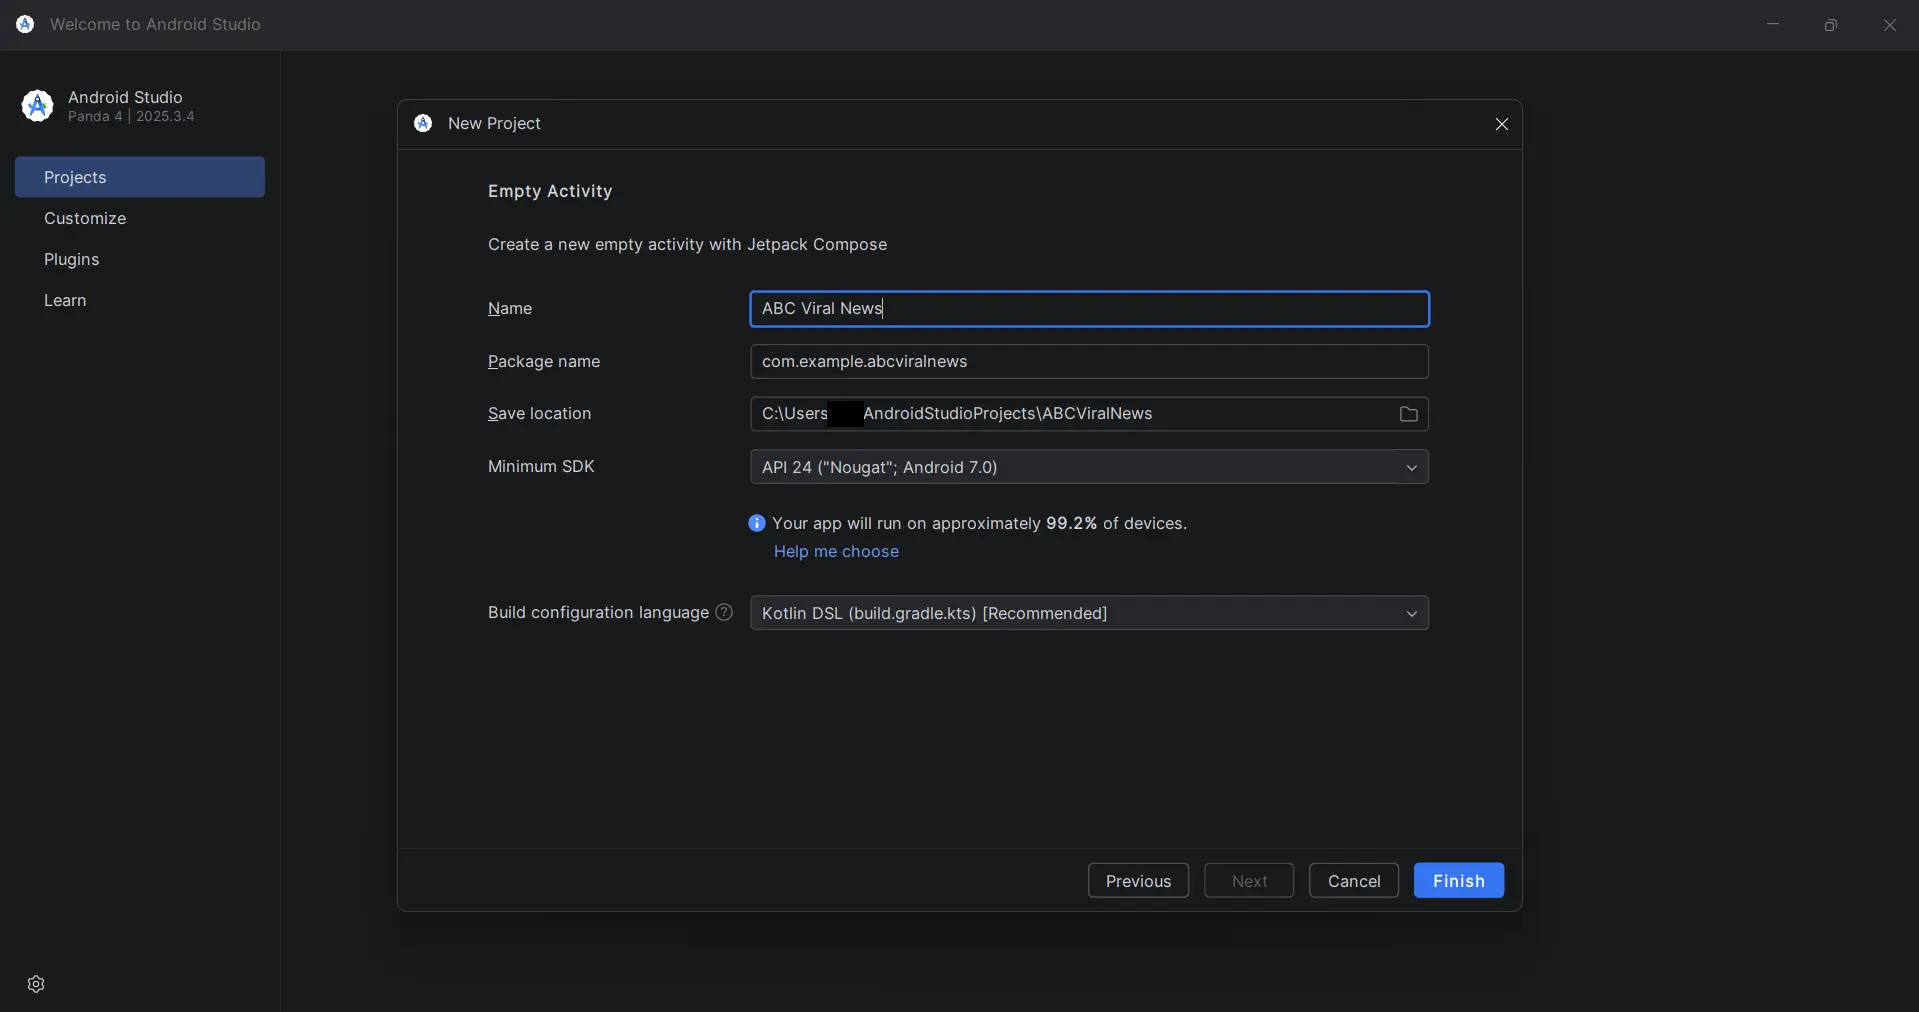
Create the Android project
Before continuing, make sure you have Android Studio installed, since it is required for the setup process.
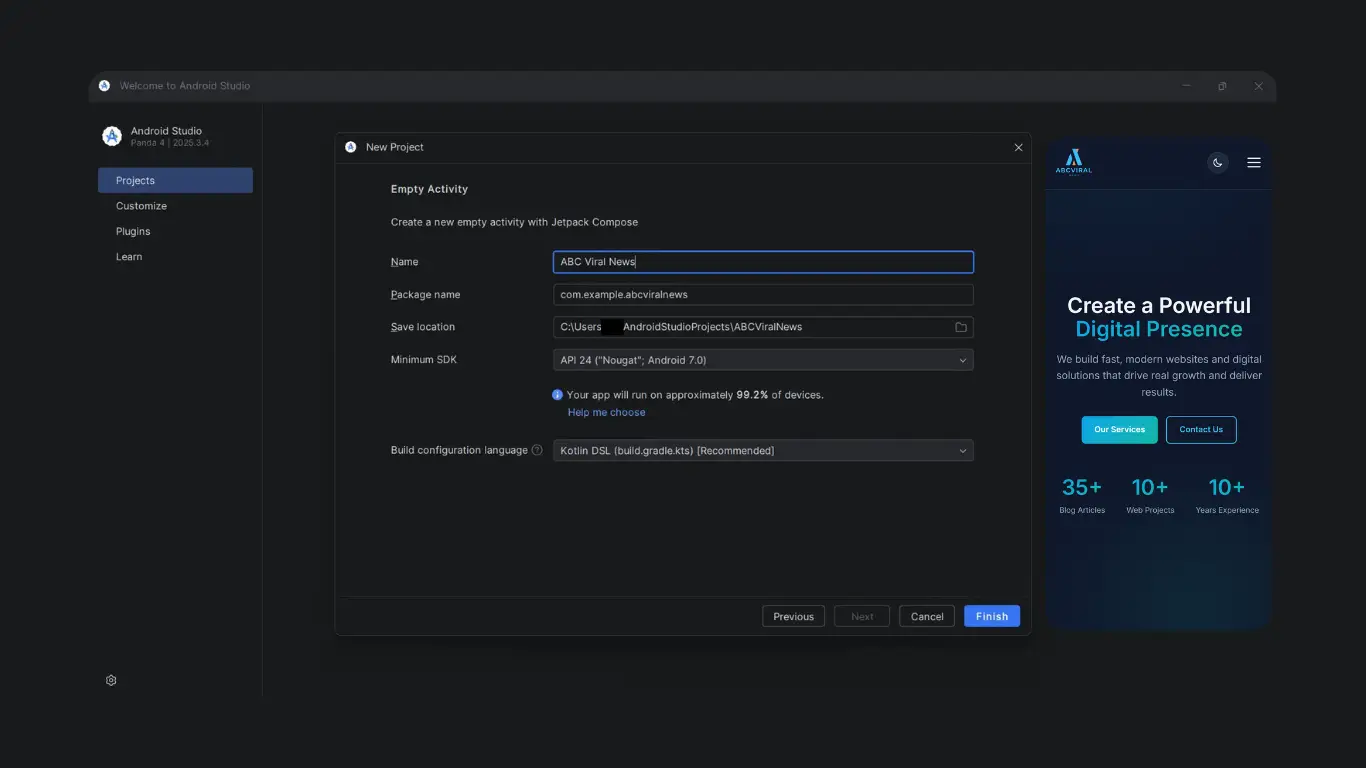
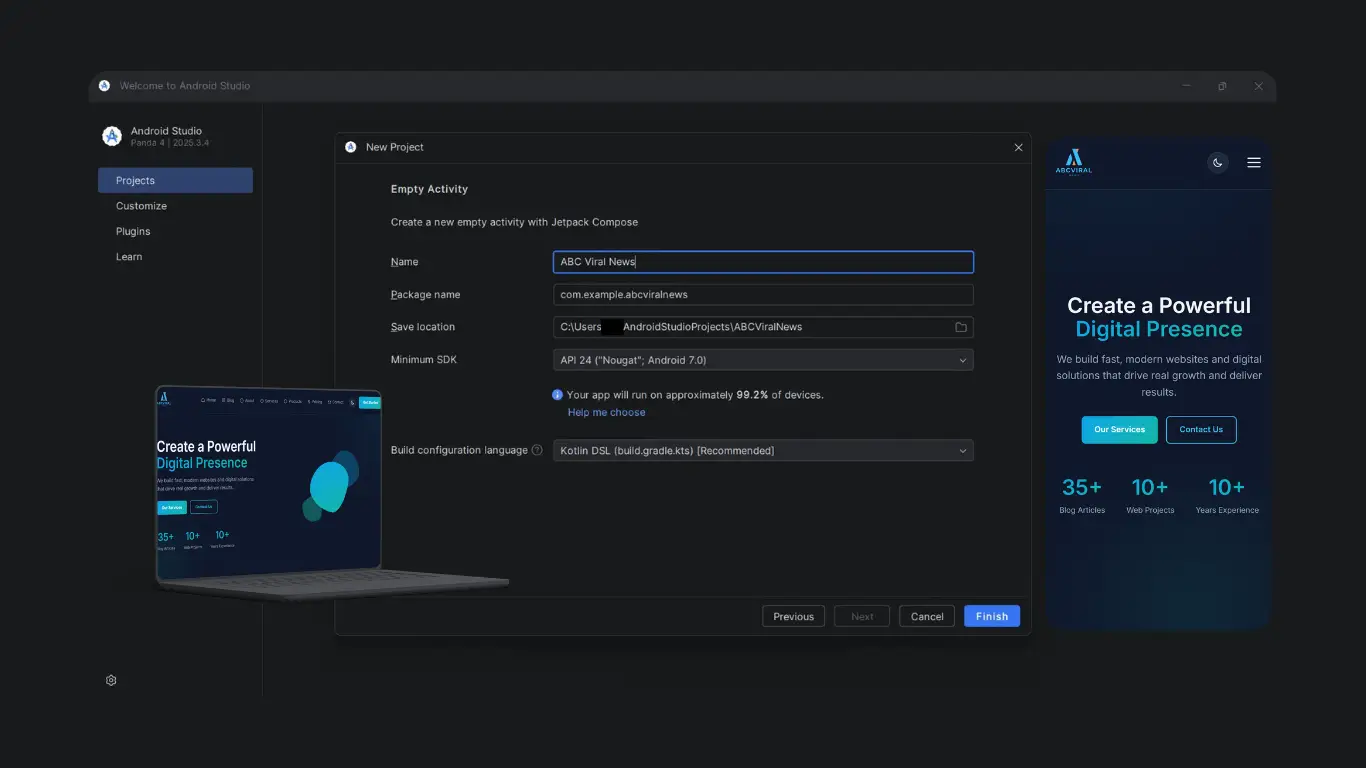
Open Android Studio and create a new project using the Empty Activity template. Give the project a simple name and let Android Studio generate the default structure.
Once the project is ready, open the activity_main.xml file and replace the existing layout with a WebView component.
<WebView
    android:id="@+id/webView"
    android:layout_width="match_parent"
    android:layout_height="match_parent" />
This acts as the main container that loads your website inside the Android app.
Connect the WebView with your website
Next, open MainActivity.java or MainActivity.kt depending on the language used in your project.
Add the basic WebView configuration below.
WebView webView = findViewById(R.id.webView);

webView.getSettings().setJavaScriptEnabled(true);
webView.getSettings().setDomStorageEnabled(true);

webView.loadUrl("https://yourwebsite.com");
At this point the app will load the website correctly, but links may still open outside the app in Chrome.
Keep navigation inside the app
To prevent external redirects, set a WebViewClient.
webView.setWebViewClient(new WebViewClient());
This keeps navigation inside the application and makes the experience feel more consistent.
Handle the back button properly
Without back navigation handling, pressing the Android back button usually closes the app immediately.
A better approach is to move back through WebView history first.
@Override
public void onBackPressed() {
    if (webView.canGoBack()) {
        webView.goBack();
    } else {
        super.onBackPressed();
    }
}
This small improvement makes the app feel much more natural during navigation.
Enable internet permission
The application also needs permission to access internet resources.
Open AndroidManifest.xml and add the following line.
<uses-permission android:name="android.permission.INTERNET" />
Without this permission the app will only display a blank screen.
Improve the loading experience
One thing I noticed during testing is that even short loading times can feel slow without visual feedback.
Adding a simple loading indicator or progress bar immediately improves the perceived responsiveness of the app.
webView.setWebChromeClient(new WebChromeClient() {
    public void onProgressChanged(WebView view, int progress) {
        // update progress bar here
    }
});
This gives users feedback while pages are loading instead of showing a blank white screen.
Handle uploads and permissions
If the website includes file uploads, camera access or media selection, additional handling is usually required.
During testing, forms and uploads sometimes behaved differently depending on the Android version or device permissions.
Most WebView apps need file chooser support and runtime permission handling for these features to work correctly.
Ignoring this step often leads to broken forms or incomplete functionality.
Make the app feel more complete
Small visual details make a bigger difference than expected. Updating the app icon, splash screen and app name helps the project feel more polished.
Once everything works correctly, build the APK or AAB file directly from Android Studio.
From there the app can be installed on devices or uploaded to Google Play.
What usually causes problems
In most cases, performance issues come from the website itself rather than Android.
Heavy scripts, large images and unnecessary requests can make the app feel delayed, especially on lower-end devices.
Another common issue is mixed content. Android may block HTTP resources loaded inside HTTPS pages.
Fixing these issues improves both the website and the mobile app at the same time.
When this approach works best
WebView apps work especially well for blogs, dashboards, admin panels and content-focused platforms.
Projects that require advanced hardware integration, offline-heavy functionality or complex animations are usually better suited for native development or frameworks like Flutter.
Still, for many projects this setup provides a fast and practical mobile solution.
Real example from a project
In one of my projects, I used this setup for a client dashboard instead of building a separate Android app from scratch.
The existing backend and frontend handled almost everything already, which made the process much faster.
Most of the work involved improving mobile responsiveness and fixing a few interaction issues inside WebView.
After those adjustments, the app felt much smoother during regular use.
Why this approach is useful
The biggest advantage of WebView apps is speed and simplicity.
Instead of maintaining separate systems, you continue working with the same backend, frontend and content structure.
That is why this approach works well for many real-world projects, especially when the goal is to launch quickly without rebuilding everything.
With the right optimizations, a WebView app can provide a surprisingly smooth mobile experience while keeping development much simpler.