The initial stages of learning WordPress may seem confusing, considering that you have never done this before. There will be many new terms and procedures for you to learn, hence there will be confusion initially.
However, once you take things one step at a time everything becomes clear and easy. After a while, you begin understanding what everything means.
This tutorial provides an all-around guide on how to start with your WordPress blog from scratch. The entire process of purchasing your own domain name and hosting, installing and configuring WordPress will be covered in this tutorial.
What you’ll learn
How to install WordPress, set up your website, customize it and use essential plugins to improve performance, SEO and security.
1. Get a Domain and Hosting
Before you do anything with WordPress, you need to set up your domain and hosting first. These are the two things that make your website actually exist online.
The domain is your website name, the address people type in their browser. Hosting is where all your website files are stored.
There are a lot of hosting providers out there and at the beginning it can be hard to decide which one to choose. Some are faster, some are cheaper and some are just easier to use.
If you’re not sure which hosting to pick, I’ll be covering the best options in detail here:
For now, just go with a reliable provider that offers decent speed and support. Most hosting services also include a free domain for the first year, which makes things easier.
Quick Tip
Try to keep your domain name short and easy to remember. Avoid using numbers or complicated words.
Now that you’ve selected a hosting company, visit its website and begin the registration process. You will find an option that says “get started” or “buy now.”
The next step involves selecting a suitable hosting package. The basic one will serve well for beginners.
The next thing on the list would be searching and registering a domain name that matches your website.
After making payment for the services, you’ll have registered and will be provided with a dashboard.
Everything starts here. This is where you will be installing WordPress and managing your website.
2. Install WordPress
After purchasing the web hosting service and registering your domain name, it is time for you to install WordPress. Your hosting company most likely provides an option for WordPress installation with just one click.
Let me guide you on how to do that:
Option 1: One-Click Installation
A lot of hosts such as Bluehost, SiteGround, HostGator, etc., provide users with a service called "one-click WordPress installation," which will help you install the software in a very convenient way.
All you need is simply to sign into your account on a hosting website. In case it is not visible right away, you can always search for "One-Click Install" or "Install WordPress".
After you click on the install button, you’ll be prompted to enter a few details like:
- Your website name (it’s best to keep this short and memorable)
- Admin username and password (make sure this is something secure)
- Your email address (for WordPress notifications)
Once you’ve filled this out the installation should only take a few minutes. After it's done you’ll be given a link to your new WordPress website and an admin login page.
You can log in by going to yourdomain.com/wp-admin and entering the username and password you created earlier.
Option 2: Manual Installation (If One-Click Is Not Available)
If your hosting provider doesn’t offer a one-click installation, don’t worry. You can install WordPress manually by following these steps:
- Download the latest version of WordPress from WordPress.org.
- Upload the WordPress files to your hosting account using an FTP client or through the File Manager in your hosting control panel.
- Create a MySQL database and user (this can usually be done from your hosting control panel).
- Edit the wp-config.php file with your database details (this is usually just a few lines of code to add).
- Run the WordPress installation by visiting your domain (yourdomain.com) and following the on-screen instructions.
The manual method is slightly more complex but it's still very doable even for beginners. If you’re ever stuck most hosting providers have helpful guides and support teams that can assist you.
After Installation
Once you’ve successfully installed WordPress you’ll be taken to your website’s dashboard. Here’s where all the magic happens!
You’ll see options like:
- Posts: Where you can add blog posts and articles.
- Pages: Create static pages like About, Contact and Services.
- Appearance: Customize your theme, layout and design.
- Plugins: Install plugins to extend the functionality of your site.
- Settings: Adjust settings like site title, tagline and permalink structure.
Take some time to explore and get familiar with the dashboard. In the next steps we’ll dive into customizing your website, adding content and installing essential plugins.
Quick Tip
Always remember to keep your WordPress updated. It helps with security, performance and bug fixes.
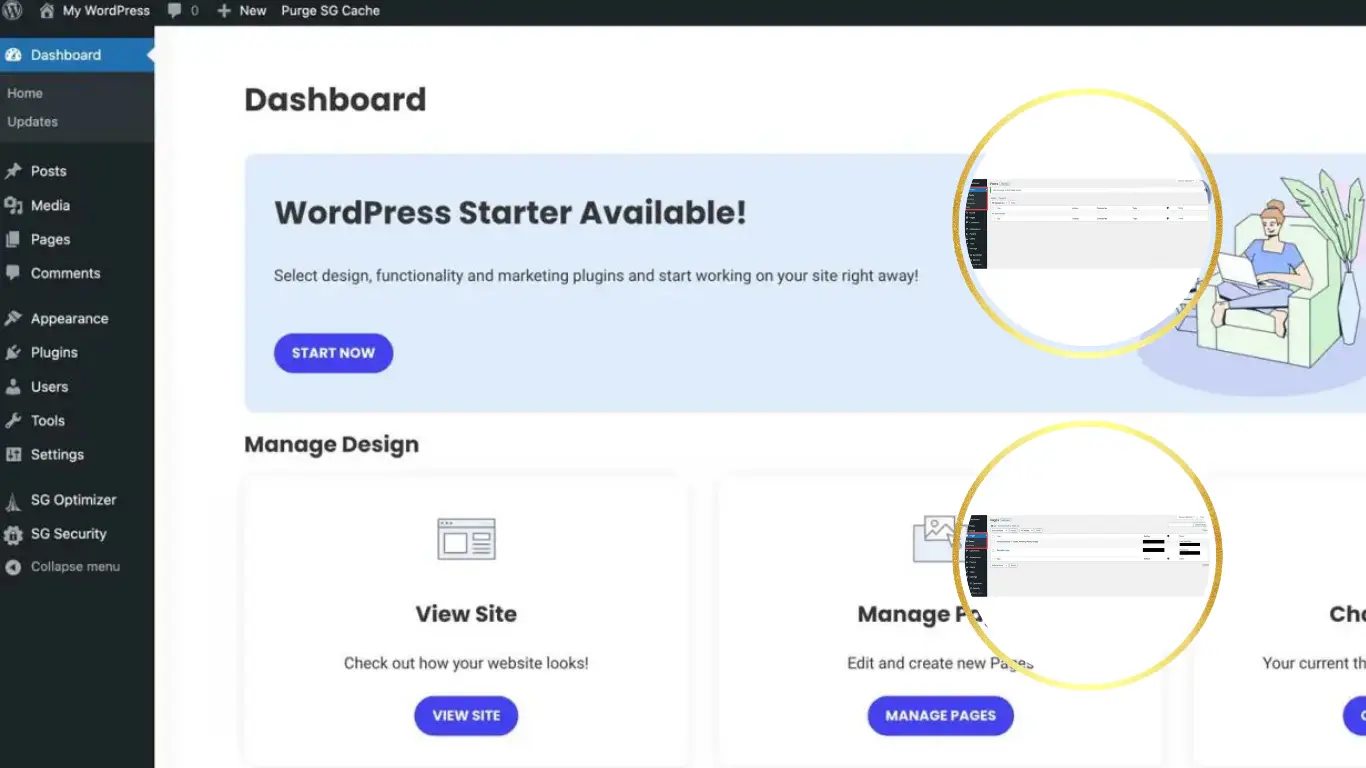
3. Understanding the WordPress Dashboard
After installing WordPress the first thing you’ll see is the dashboard. This is where you manage everything on your website.
At first, it might look like there are too many options but once you understand what each section does, it becomes much easier to work with.
Let’s go through the main sections so you know exactly where everything is.
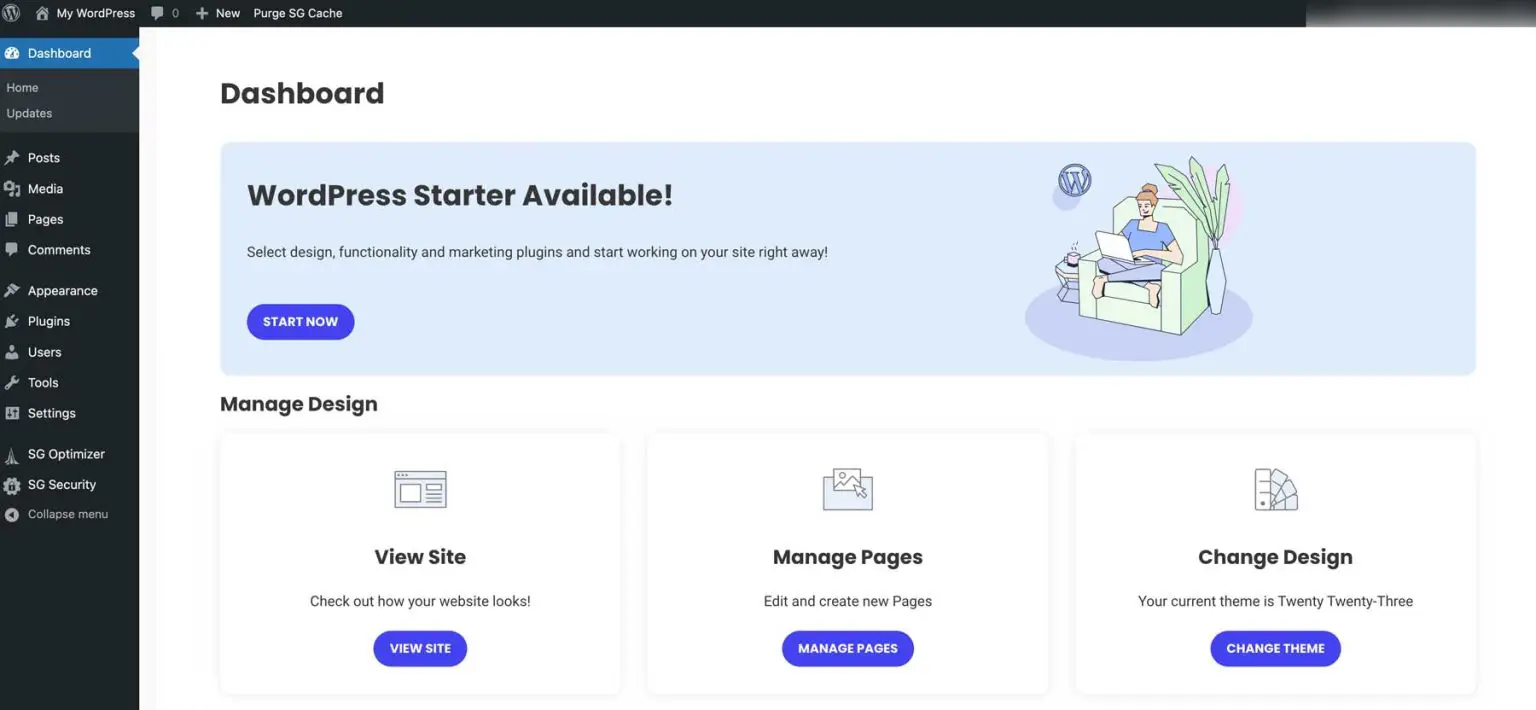
This is the main WordPress dashboard. From here you can access all the important sections like posts, pages, plugins and settings. Think of it as the control panel of your website.
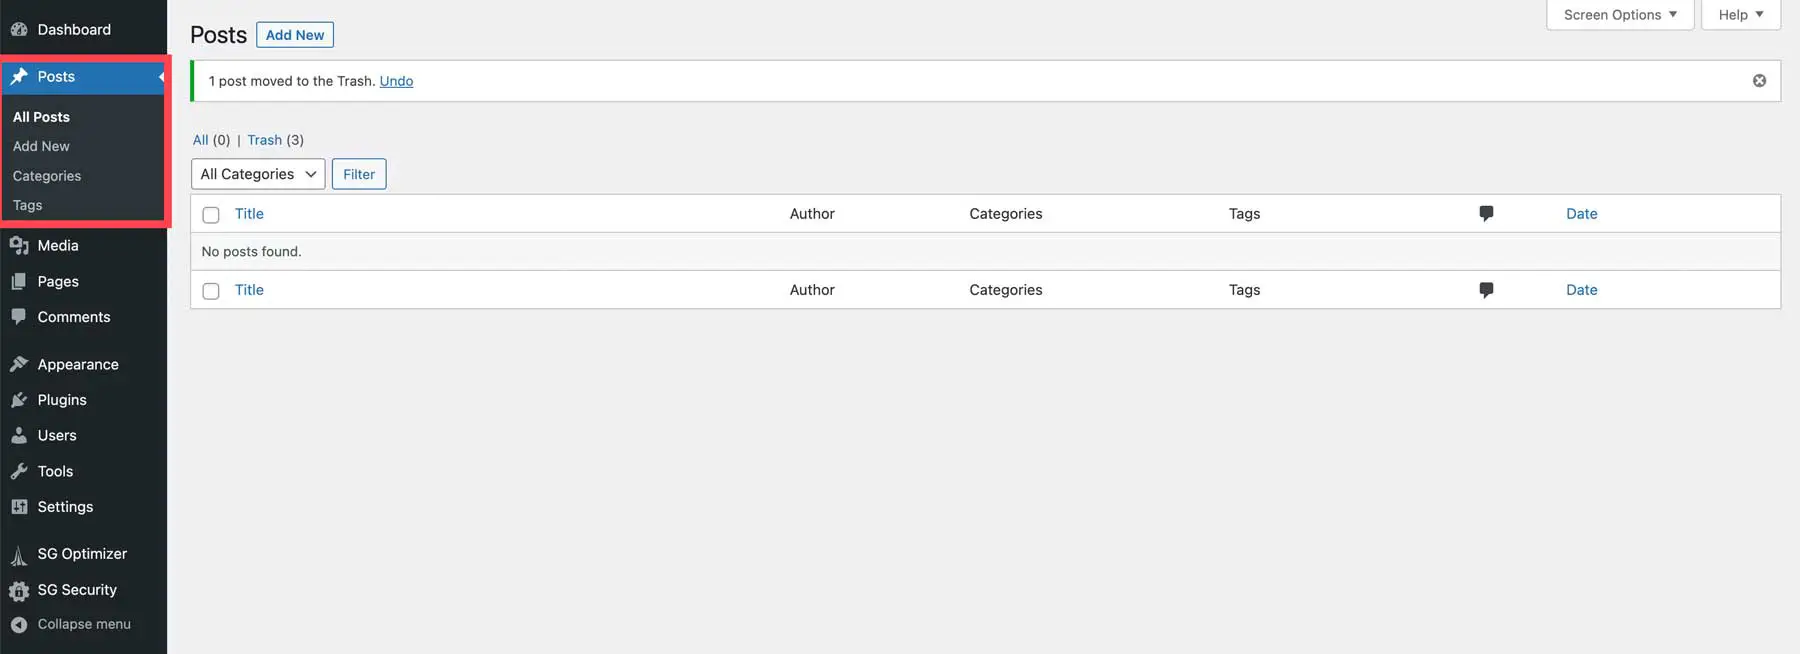
The Posts section is where you create blog articles. If you plan to write content regularly this is where you’ll spend most of your time.
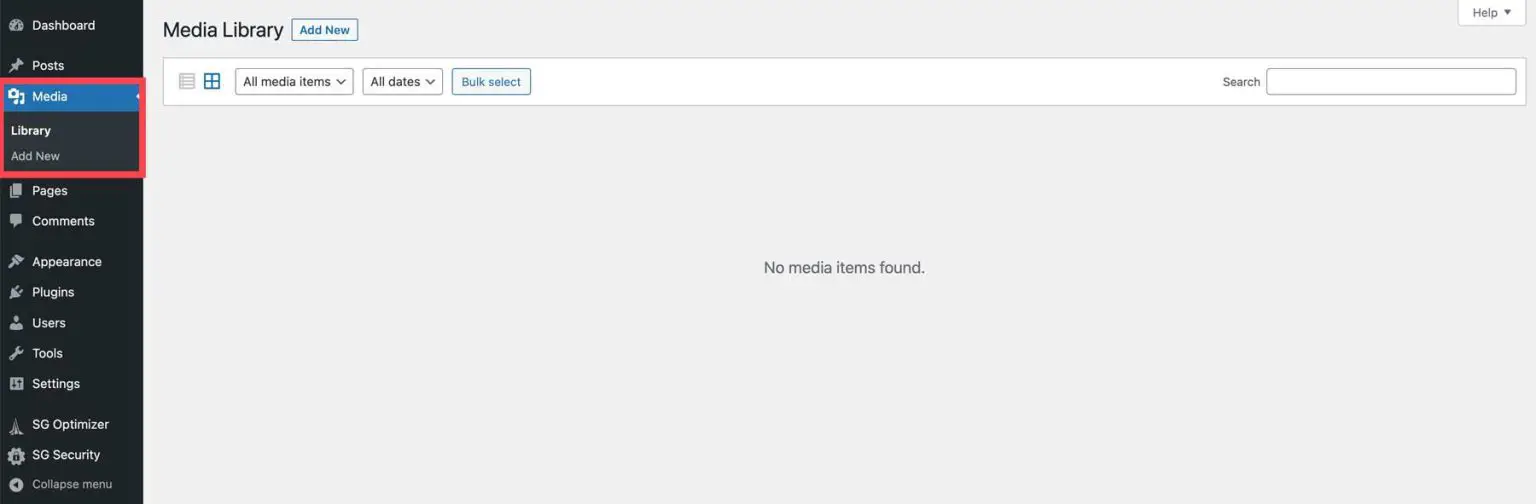
Media is where all your images and files are stored. Every time you upload a photo, it will appear here and you can reuse it anytime.
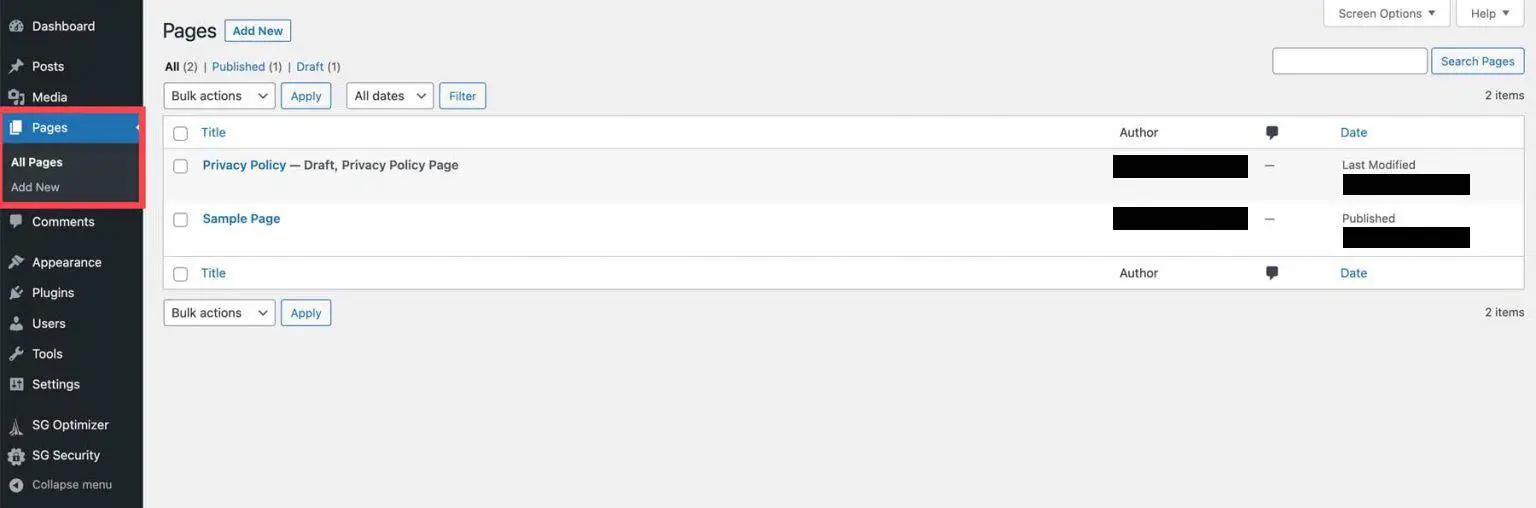
Pages are used for static content like About, Contact or Services. These don’t change often like blog posts.
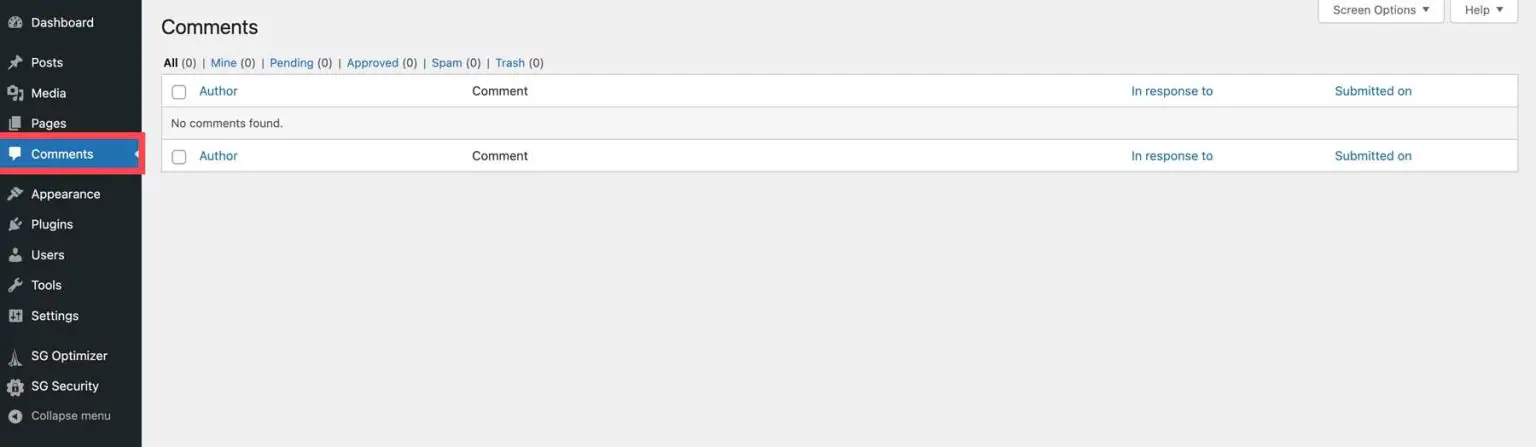
If your website allows comments, this is where you can manage them. You can approve, delete or reply to users.
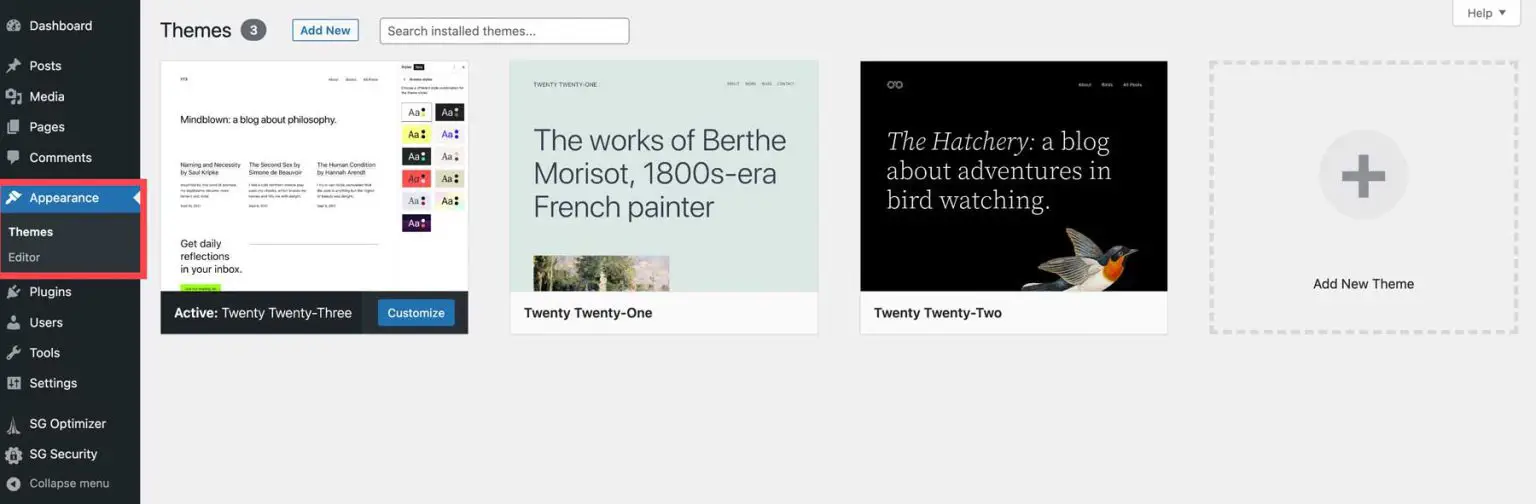
Appearance controls how your website looks. From here you can change themes, edit menus and customize your design.
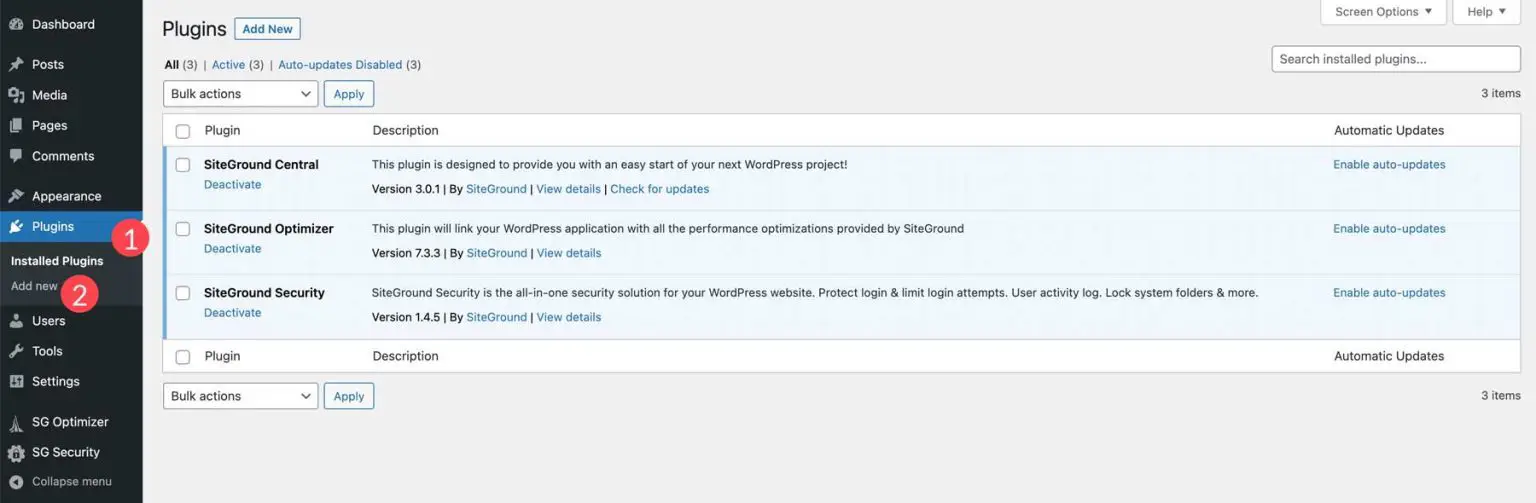
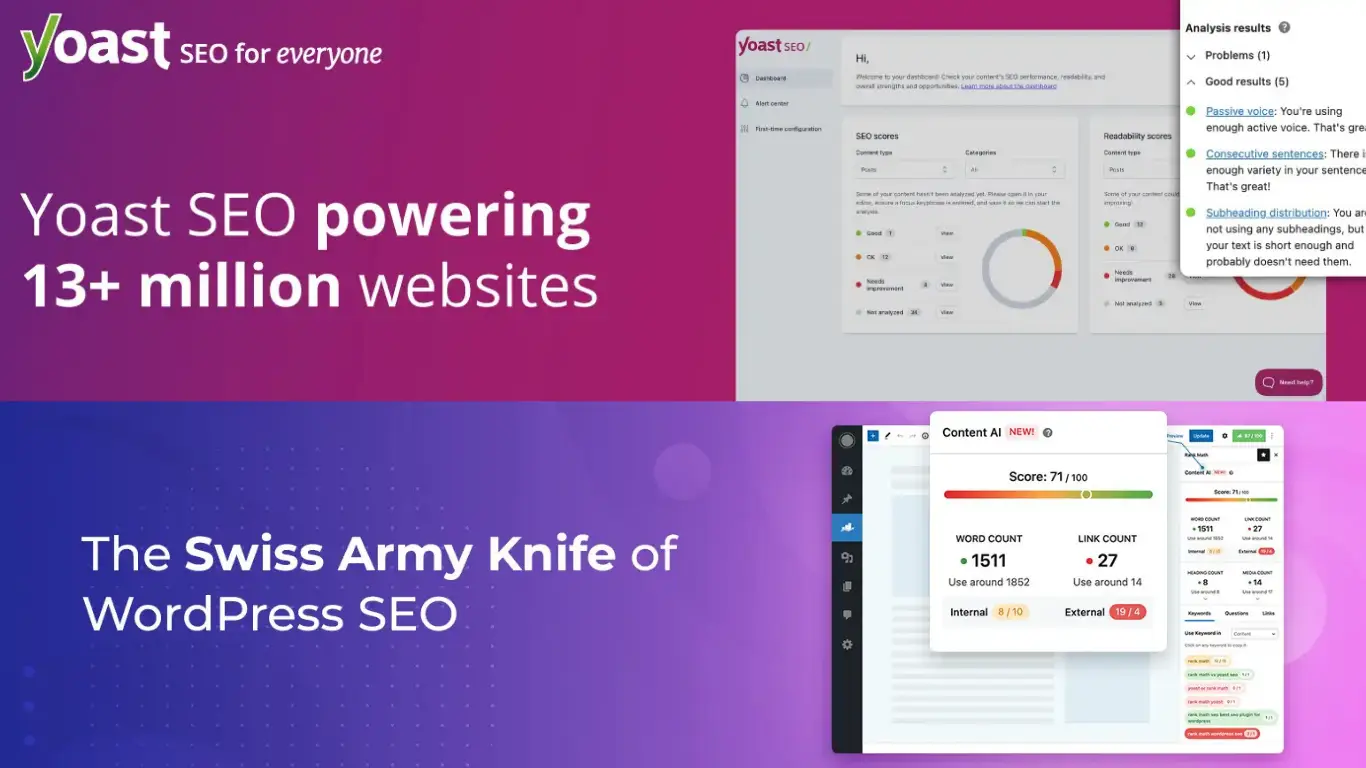
Plugins are one of the most important parts of WordPress. They allow you to add new features without writing code.
To install a plugin, go to Plugins → Add New, search for what you need, click Install and then Activate.
If you're not sure which plugins to start with, I’ve already put together a full guide with the best free options you should use.
Read more:
Top 10 Free WordPress Plugins You Should Use in 2026
Try not to install too many plugins. A few well-chosen ones are more than enough to build a fast and stable website. In fact most sites only need a handful of essential plugins to cover things like SEO, speed and security.
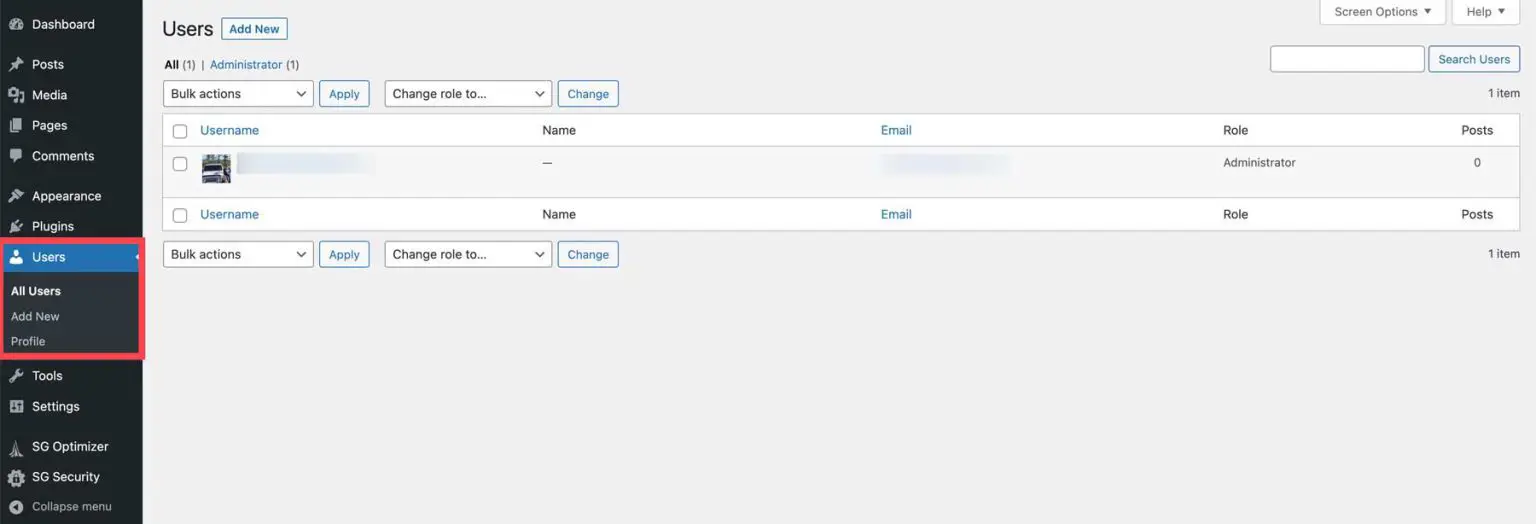
The Users section lets you manage who has access to your website. You can add new users and assign different roles.
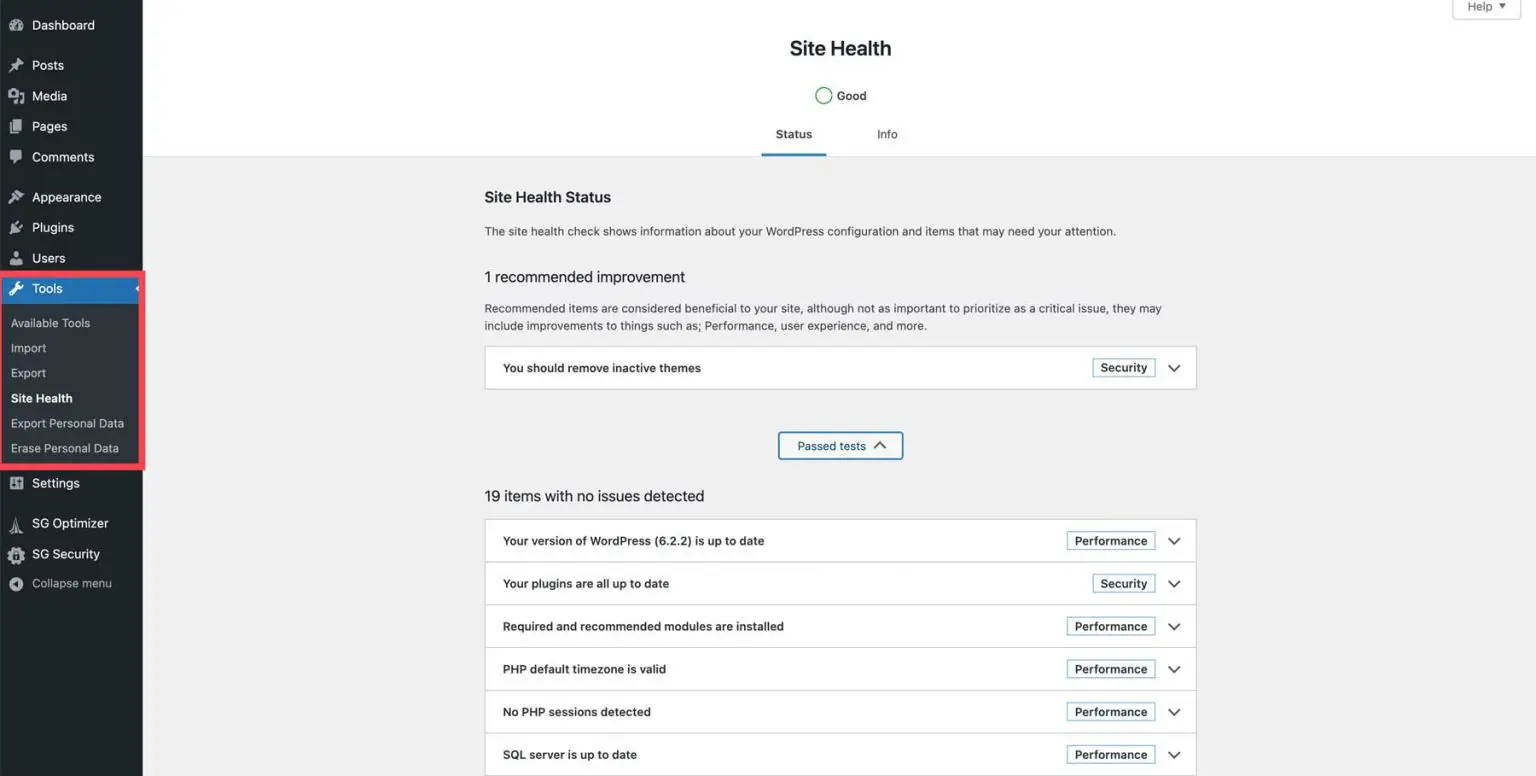
Tools are used for importing or exporting content and other small utilities. Most beginners won’t need this often.
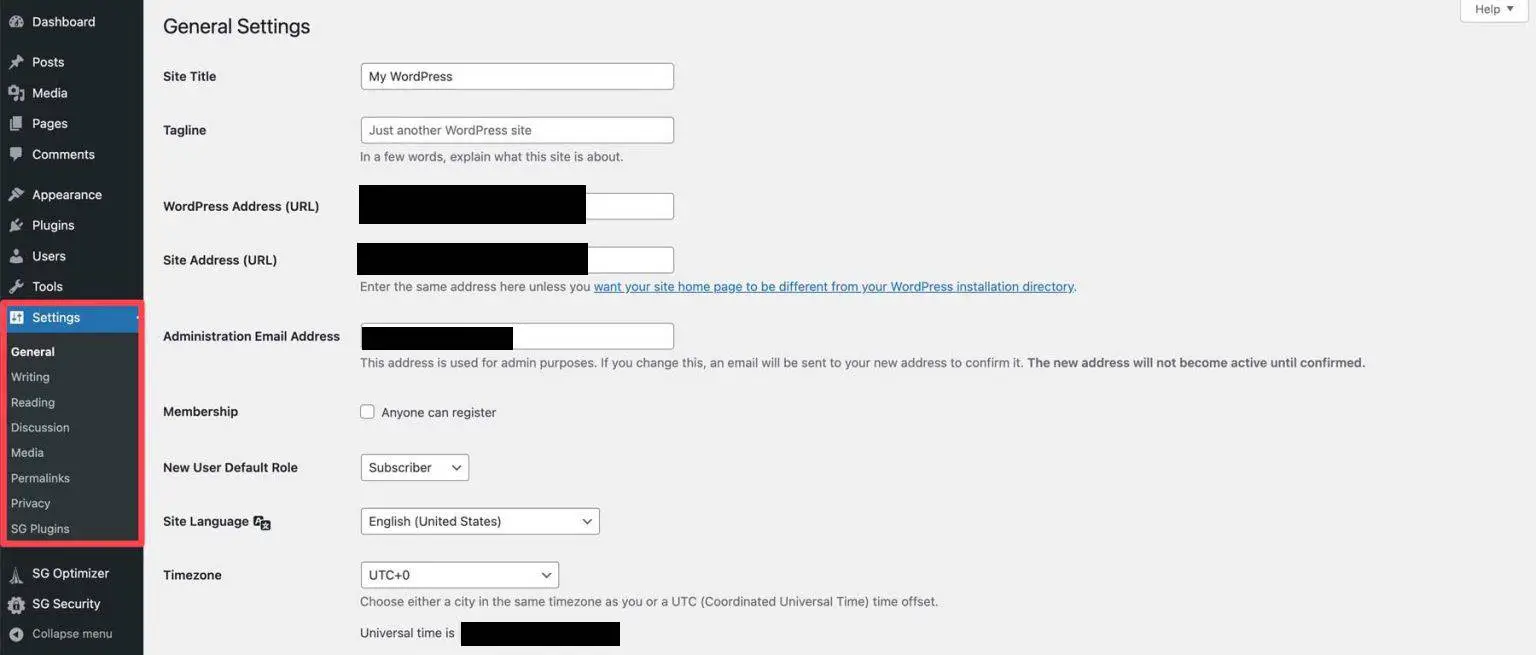
Settings is where you control important things like your site title, URL structure and general configuration.
Quick Tip
Take a few minutes to explore the dashboard on your own. The more familiar you are with it, the easier everything else becomes.